Tuesday, July 19, 2011

Sew Happy - A Kitchen Window Treatment Love Story

If you had told me years ago or even months ago that I would attempt to sew my own kitchen window treatment, I'd have thought you were crazy. Sewing has always freaked me out. The thought of buying fabric and trying to make something and having it end up looking like total ass, the work and the frustration of wasted time. I don't know. I just never thought I'd be the sewing kind of person. And I was okay with that.

Well, that all changed when my parents bought Abby a little sewing machine for Christmas last year. It's not a little kid sewing machine, just a more compact version of a regular, adult one. It's so easy to use! Abby just dove right into using it. She was never afraid to try and fail, so I thought I'd take a cue from her and give it a shot. She's been my little sewing mentor!! We started out with small projects like hemming curtains and things like that. Then we made some pillow covers with an envelope back. It wasn't so hard!

Photobucket
bedroom pillow covers...

Months into this home renovation, the kitchen window has remained treatment-less. It has a plantation blind for privacy, but needed something colorful and exciting to dress it up a bit. There are some problems with the window though. For one thing, it's HUGE. Like stupid huge. 72" wide to be exact. I would rather have it be half the size and put another set of kitchen cabinets or wall shelving on the other side, but Kevin says there will be no replacing of windows or siding right now. Poop. The other problem is that the sink isn't centered underneath. I had thought about doing two short panels on either side, but because of that it would just look lame. Needless to say, it was kind of a dilema and nothing I could find in stores really worked for the window. Nothing was the right size or shape or even the right color. I looked online at lots of stores too, but short of spending hundreds of dollars there just wasn't a lot to choose from.That's when I started thinking about sewing something myself. Which is crazy. But, crazy just happens to be my middle name.

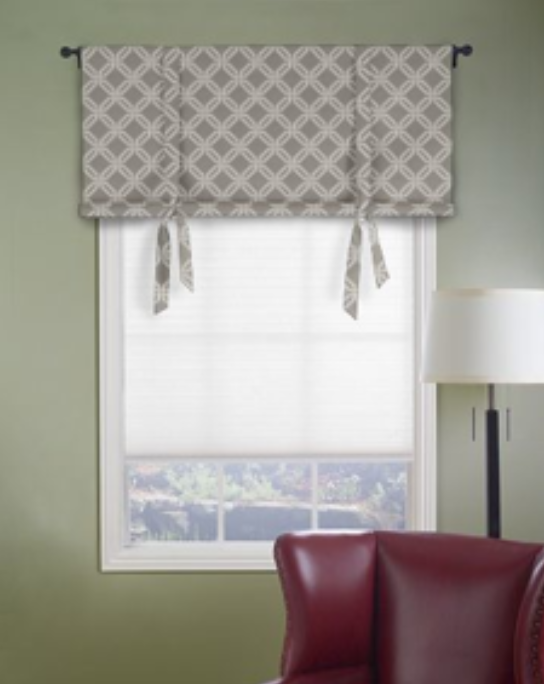
So I began looking at all sorts of photos on pinterest and searching google for DIY window shades. I found some pretty good faux roman shade tutorials, but wasn't sure all of those folds would look great on that large and in charge window. Then I found the perfect solution on this amazing blog called The It Girl Project.
Photobucket

It was simple looking like a valance, but just a little fancier with the tie ups. AND there was a tutorial on how to make the shade which was even more perfect. Here it is for those who are interested: http://theitgirlproject.com/2011/02/22/diy-window-shades/
And it just so happened that I liked the fabric in the inspiration photo and that it came in my favorite color - apple green!! Alas, the stars aligned and all was right with the universe. It looked like I would have my perfect window treatment after all!!

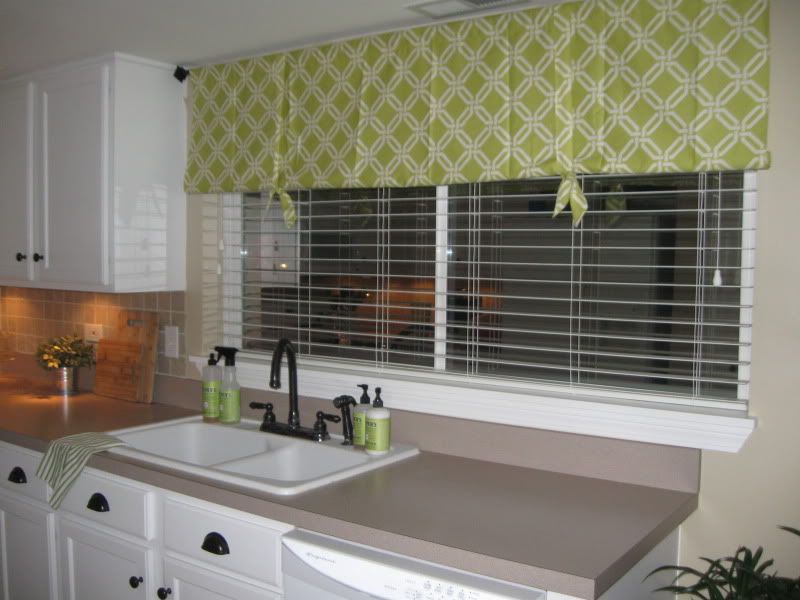
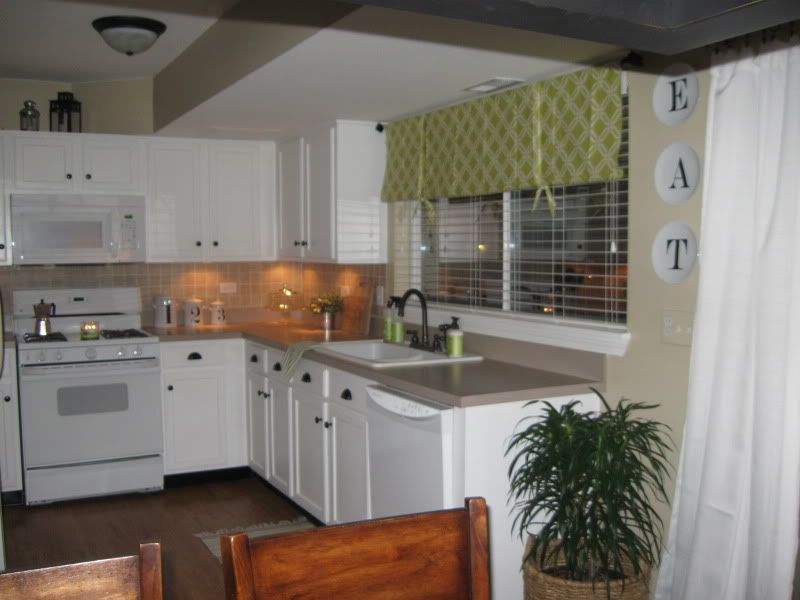
The fabric arrived last week, so Abby and I got to work making the shade yesterday afternoon. The It Girls used Stitch Witchery for their shade, but we decided to sew ours. Other than that, it's made the same. After a lot of measuring, cutting, ironing, pinning, sewing and cursing (just kidding. Well, not really), we had our window shade!!! Here are some photos of it at night and one during the day. See how I need a new camera really bad?!?!!?

Photobucket

Photobucket

Photobucket

Photobucket

Photobucket

The It Girls used ribbon to tie up their shade, but we opted to make ours out of the leftover fabric from the shade. I wasn't sure it would turn out, but it did! Woo hoo! There are two wooden dowel rods in the bottom of the shade for support. If you wanted your shade to hang loosely (think shabby chic), you could skip the rod. There are lots of options!!

I LOVE how this window turned out! I guess the moral of the story is not to be afraid to try something new. I'm a long way from a pro and if you look closely at the shade you would definately notice that. But it's more than I ever thought I could do!! I'd love to hear some of your sewing success stories! Any window treatment dilemas you've solved with a sewing machine??
Thursday, July 14, 2011

House Tour - The Office

As much as things are SUPER unfinished around here, I thought I would take the time on Fridays to do a tour of a different room in our house. I've learned things will never really be finished with me because I am constantly tweaking and rearranging!! Plus, it's fun to see how far we've come!!

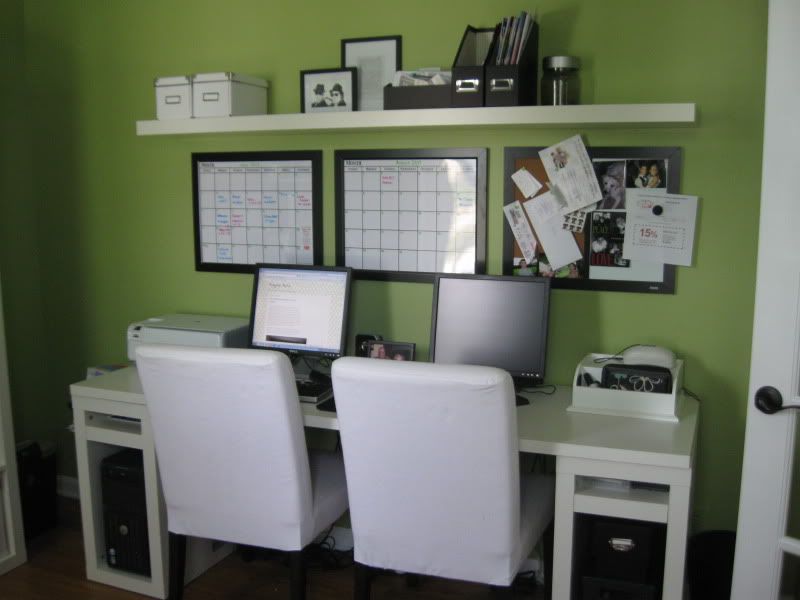
The first tour is going to be of our home office. Kevin doesn't work from home very often, but when he does it's nice to have a nice big desk area with two different workstations for both of us. All of the furniture in this space is from Ikea except for the little, round side table. Before we see current photos, let take a trip down memory lane to see what this space looked like before it became "the office."

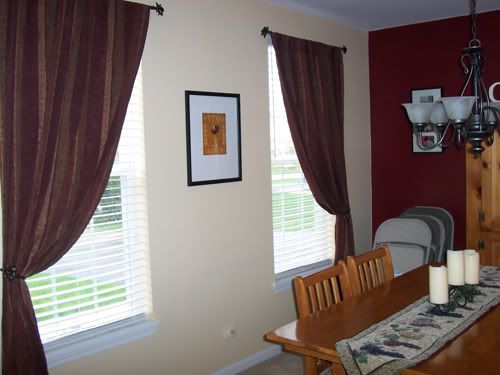
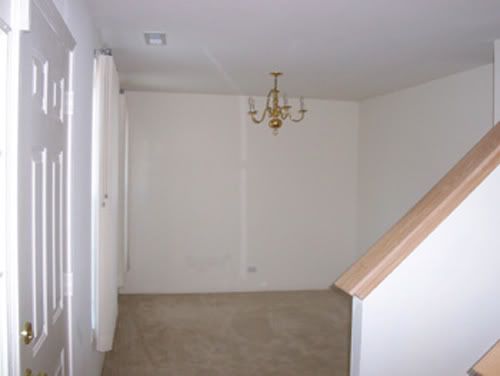
First, it was an empty, lack luster, beige carpet filled formal dining room....

Photobucket

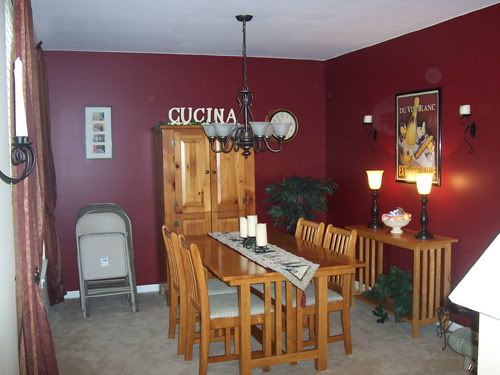
Then we painted it merlot, but we still NEVER used it as a formal dining room.....

Photobucket

Photobucket

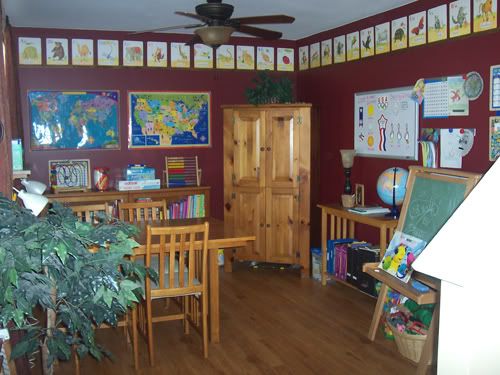
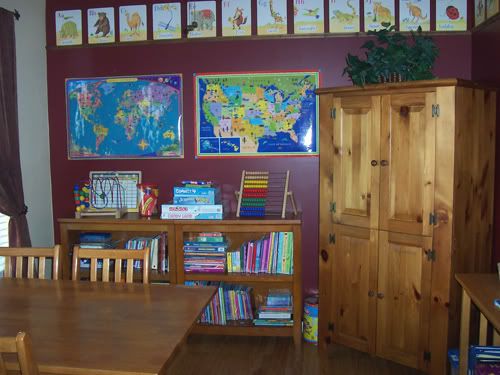
Then we turned it into a awesome homeschooling space for our kids, but it was so dark and sort of a catch all for junk....

Photobucket

Photobucket

Photobucket

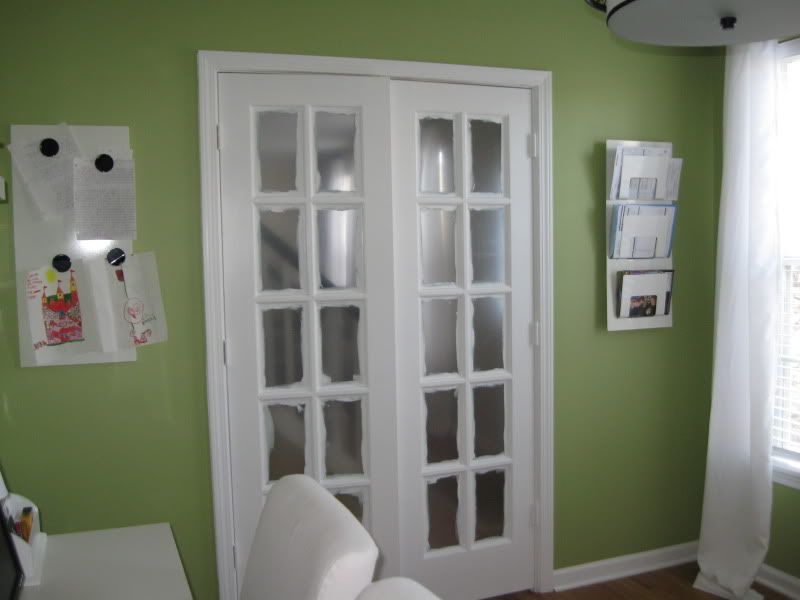
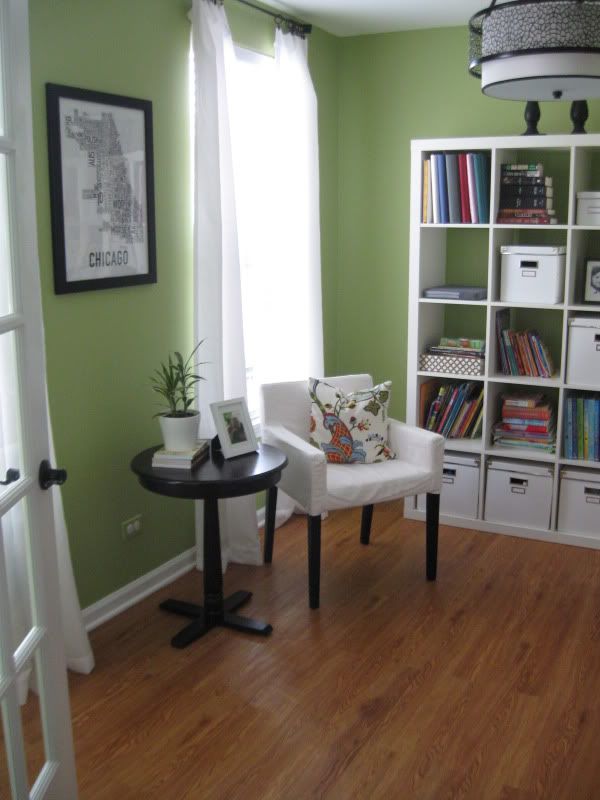
Then we closed it in, added french doors and painted it a bright, fun chartreuse/apple green - Sweet Daphne by Benjamin Moore. These are the progress photos... what a mess! But what a transformation!!

Photobucket

Photobucket

Photobucket

Photobucket

Photobucket

Photobucket

Photobucket

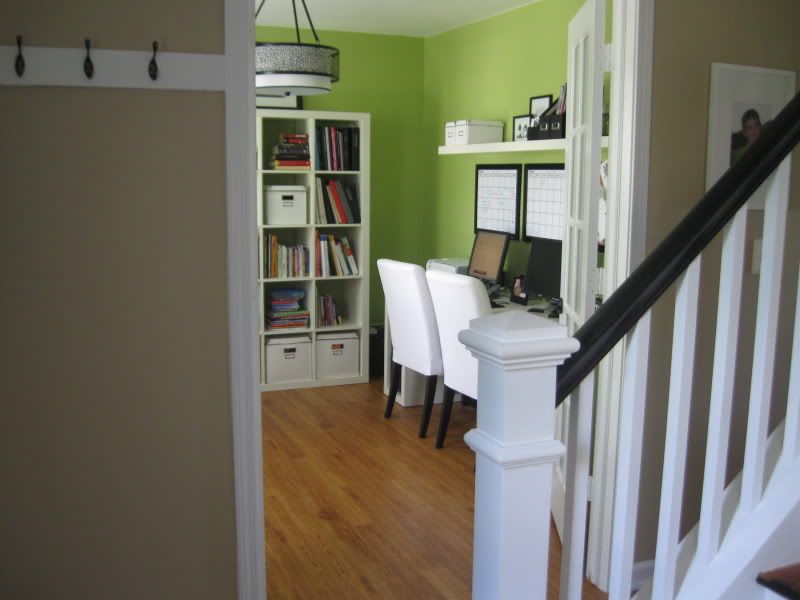
Now, it's our home office!!! Here it is today.

Photobucket

Photobucket

Photobucket

Photobucket

Photobucket

Photobucket


We seriously use the heck out of this room. All of the kids' school books are in our generously sized Expedit wall shelving. We have plenty of space for everything!! I am still going to be adding more decorative pieces to the Expedit and changing some of the white boxes over to baskets at some point. We still need art for the top of it as well. I would also like to get a desk lamp and some cute plants for the Lack shelf over the desk. And of course once winter hits again, we'll want some sort of warm graphic rug to keep our feet warm while blogging!!

That it for this Friday's house tour!! Hope you enjoyed it!! Stay tuned for next week when we tour the kitchen!!

Master Bedroom Ramblings/Cane Chair Progress

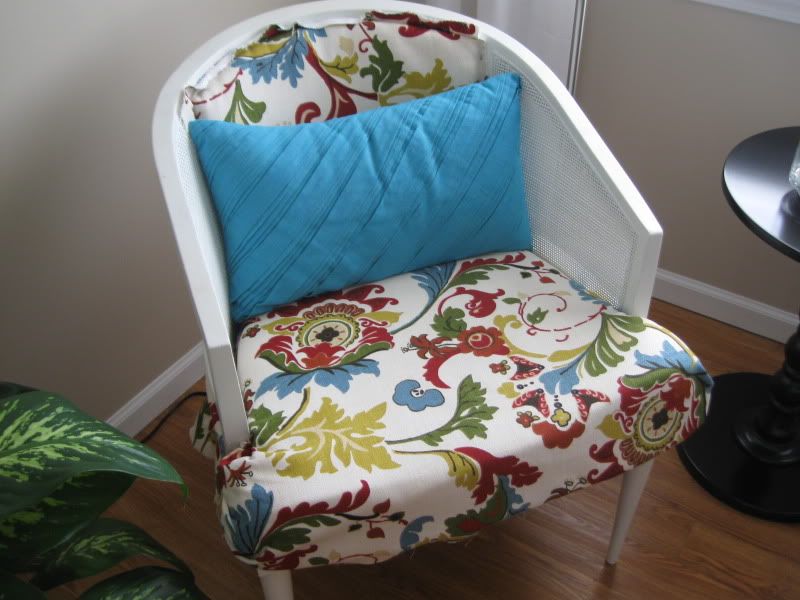
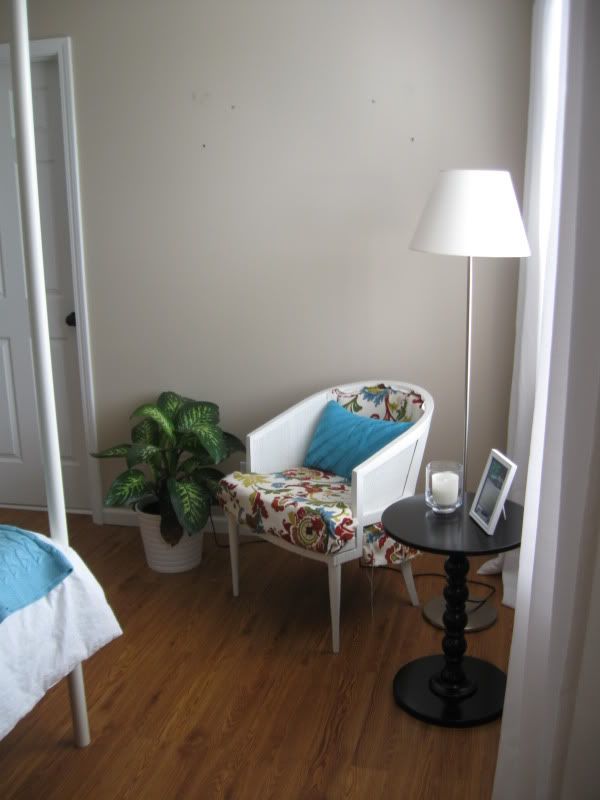
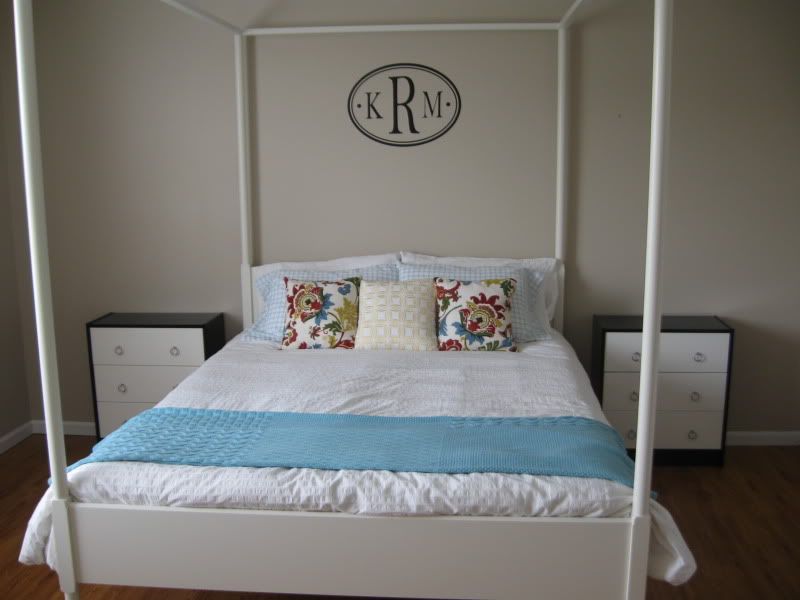
Can we all just agree that Pinterest is soooooooo addicting? It's bad people. I need an intervention! One good thing about it is that it's helped me come up with some great ideas for all of these in limbo projects we have going on here. Take the master bedroom, for example. It's slow going, but progress is progress. Right? Kevin and I stayed up until 1 am last weekend working on the thrift store cane chair. We had a few issues (most of which came from the fact that we were sampling a few new beers we picked up at the Sprecher Brewery in WI), but all in all I'm happy with it! We still have to get some more staples to finish the front - see how the fabric is sort of hanging off? And I have to buy some of that cording to trim out the back and bottom edges so you won't see the staples. Then we'll call Candi the cane chair DONE!

My daughter Abby (sewing genious at age 8) and I also made up some throw pillow covers to match!! I'm super pumped about how things are looking so far. Here's a photo update and inspiration pics/notes about where my brain is headed with the rest of this transformation. :)

Photobucket
Nice, dark picture!! My camera sux!!!

Photobucket
Up close..... fabric hanging off needs to be cut & trim added to it

Photobucket
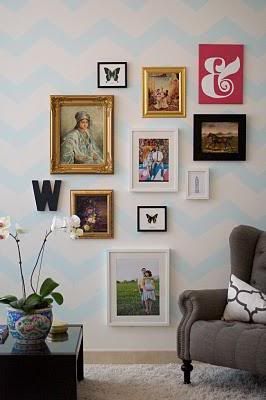
Another view... prob going to do a couple of large pieces of art OR maybe a smallish gallery wall?? Like these....

Photobucket

Photobucket

OR

Photobucket

More photos.....
Photobucket
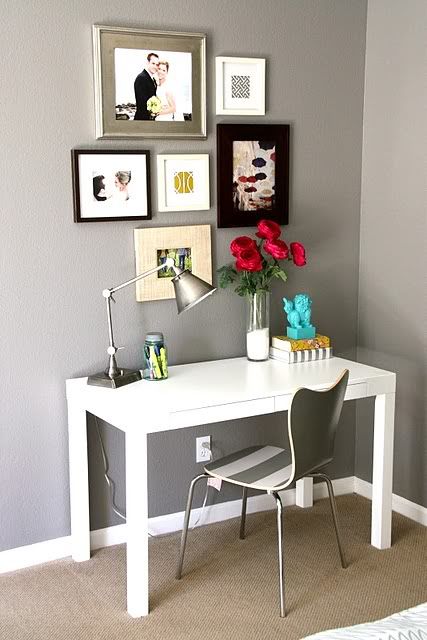
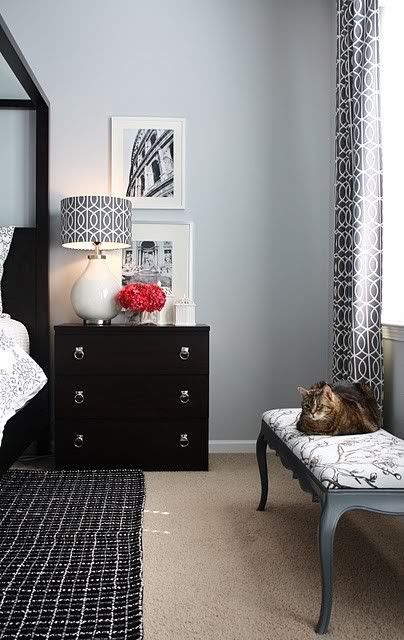
New bed pillows to match chair fabric... prob going to hang a sunburst mirror over the bed and add some frames over each nightstand like these... (and we still need some cool lamps too)

Photobucket


Photobucket
Near....

Photobucket
And far...... ;) grover reference

Photobucket
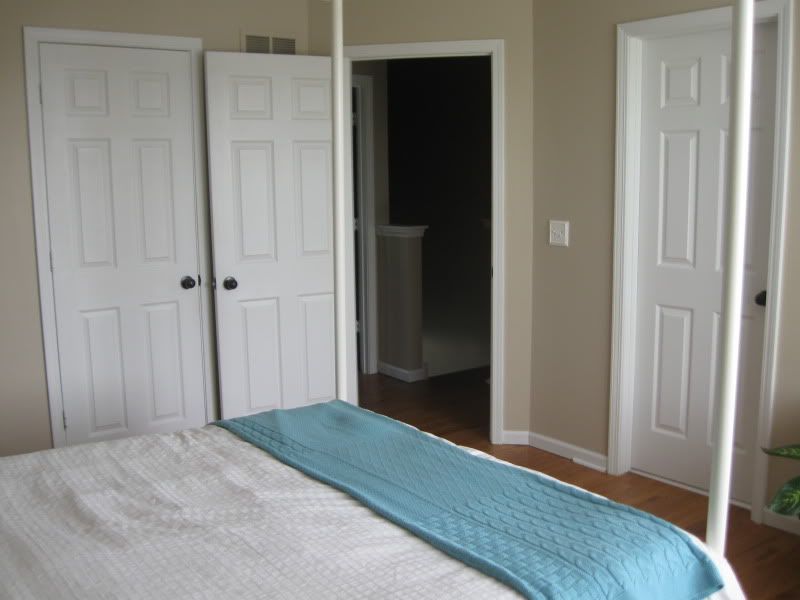
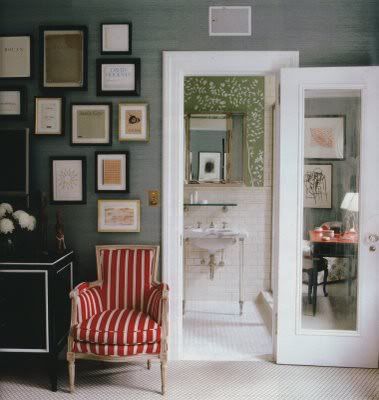
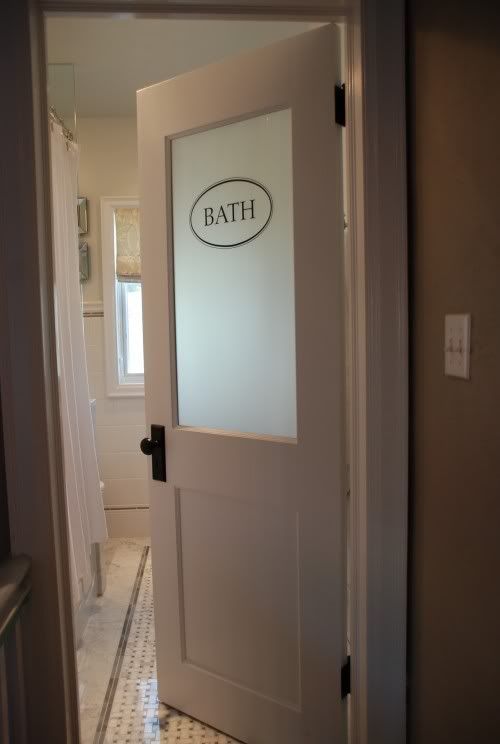
The door dilema or doorlema is going to be solved by adding a full length mirror to the front of the closet door (door #1 or the door on the far left). The door into our room (door #2 or the middle door) will stay as is. Door #3 or the bathroom door will be replaced with a full view frosted glass door. I feel like that will help open up the space of all those doors without making it look super weird. Here are a couple of idea photos...

Photobucket
Mirrored door for closet....

Photobucket
Frosted glass "bath" door :)

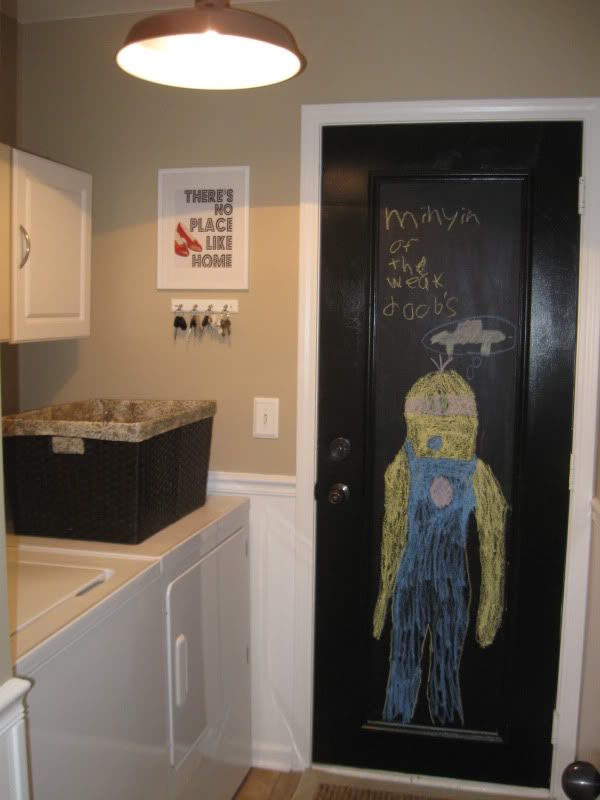
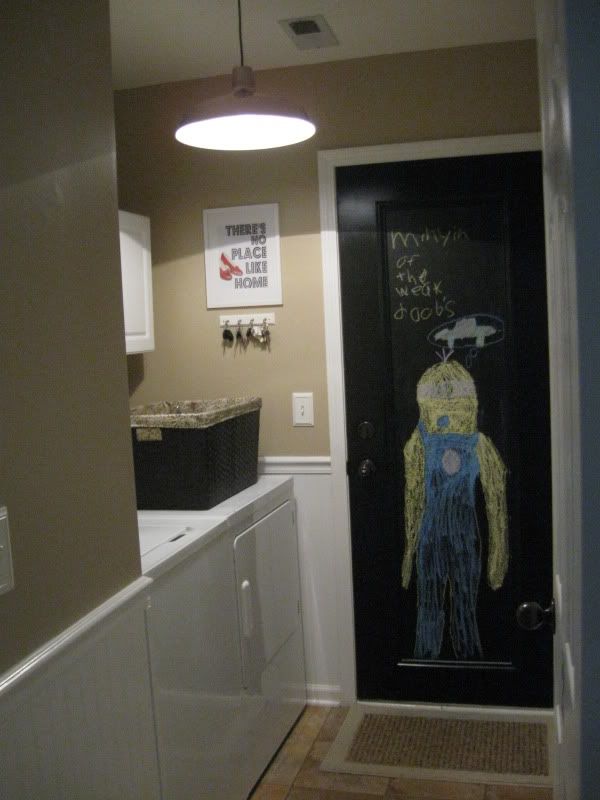
A few more photo updates that have nothing to do with the bedroom and then I will stop pic spamming!!! The laundry room lighting has always been total crap. We found an inductrial looking pendant light on sale for $15 on our latest Lowe's trip. Woo hoo, score!!! Here's what it looks like hanging in our laundry room.

Photobucket

Photobucket
How much do I love the giant Minion Abby drew on the chalkboard door?? So much!!!! :) Nevermind the fact that I almost sh!t myself every time I walk into the laundry room thinking it's a real person. Yes, I need new glasses.

In other thrifting news.... check out my super awesome $39 find!! They don't just sell cane chairs!!! :)

Photobucket

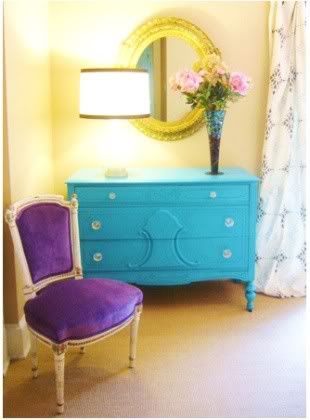
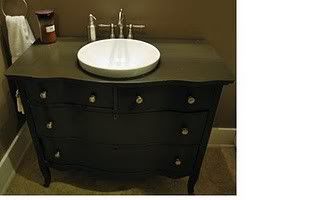
It's an old server, but Kevin and I plan on turning it into a bathroom vanity when we redo the kids' bathroom this fall/winter. :) It's going to look amazing!!! Picture it painted a bright turquoise with a cool vessel sink on top!!! Like this:

Photobucket
LOVE this color combo....

Photobucket
The vessel sinks at Menard's are $49, so this little project will be under $100 and look like a million bucks. Fingers crossed.

Well, that's it for now. Whew, that was a lot of pictures!!! Hopefully this next couple of weekends will bring more progress in the way of wall art for the bedroom. That is if I can make up my mind!!!

About Blogging Molly

My photo
I am a mom to three great kids - Ethan is 12, Abby is 9 and Lulu (Olivia) is 5. I've been married to my highschool sweetheart for almost fourteen years. I love to paint, renovate and live for anything DIY. I love music and I love to bake. I also teach dance at a local studio. Thanks for stopping by my blog!!!

What I'm listening to.....


Get a playlist! Standalone player Get Ringtones

My People